THE BEST IN RESIDENTIAL AND COMMERCIAL WINDOW TINTING
How to Maintain Home Window Tint: A Guide
Maintaining your home window tint will help make it last longer. Read on for a complete guide on how to maintain your home's window tint.

There is no sign that our appetite for home renovations is waning. Last year, spending on home improvement projects increased by a massive 17%.
One growing trend in recent years has been window tinting. Adding a tint to your windows adds beauty and privacy, and it's great for minimal homes that don't want the fuss of blinds.
If you plan on adding a home window tint, read on. Here is all you need to know about how to maintain these tints.
Care and Maintenance After Installation
When installing tinted windows, always check the manufacturer's guidelines about what to do next.
Typically, you should cover these windows for around seven days to avoid moisture getting into the window tint. It will also help you avoid the problem of shifting tint as it settles in those first few days.
Cleaning Frequency
Window tints need more careful maintenance than regular windows. Nevertheless, don't use this as an excuse to avoid a cleaning routine because the dirt will show.
They will need regular cleaning, just like standard windows. Plus, regular cleaning will help to maintain the tint quality and make it last longer.
Ideally, you should clean windows tint at least every two to three months. However, you'll want a more frequent schedule if you notice lots of dirt.
Check the Tint Condition
Before and after cleaning, always check the condition of the tint to ensure there is no damage. Minor damage is often repairable and will save you from having to replace the window tint.
Check for any cracks peeling, and scratches, and inspect the tint for any wear and fading, as this will impact the visibility.
Check too for bubbles, as these can sometimes appear on the surface. If that happens, use a credit card covered in a cloth to smooth out any bubbling.
Cleaning Tools
You must avoid using any sort of abrasive material when cleaning window tint, as this may damage it. That means you shouldn't use a scouring pad or sponge, as those materials could scratch or wear away the tint.
If you walk past the window and notice a tiny streak, don't be tempted to wipe it off with whatever you have on hand. Hold off until you are doing your regular cleaning routine.
Instead of a sponge, always clean your tinted windows using a new, soft microfiber cloth. If you don't have one, opt for a paper towel instead.
Cleaning Formulas
You should avoid any strong chemicals when cleaning tinted windows. So it's important to check labels, because many modern cleaning products contain chemicals that might weaken the tinted windows.
That could lead to further damage, such as peeling or cracking, leaving you in the unfortunate position of having to replace a window.
One ingredient you must avoid is ammonia, a common ingredient in glass cleaning products.
That's because tinted windows are made using PET (polyethene terephthalate), and ammonia will react with this substance and cause your window tint to break down.
Always opt for a mild, chemical-free cleaning product. Eco-friendly products are a good choice if you aren't sure about the labels when shopping in the supermarket.
Alternatively, you can lather a traditional bar of soap or dishwashing liquid and use that to clean your tinted windows instead.
When you use general household products, always dilute with plenty of water first to ensure you don't add too many cleaning products to your tinted windows.
It's a good idea to add the formula to a spray bottle. That way, you won't use too much and can apply a light layer to the windows.
You can also try a homemade cleaning solution with white vinegar, dishwashing liquid, and distilled water.

Use Distilled Water
Always opt for distilled water when cleaning your windows or diluting your cleaning product. That's because tap water might leave stains due to some of the particle matter in ordinary water.
The distillation removes this and makes it a far superior water for cleaning delicate material. It will stop the water from leaving droplet stains that tend to be difficult to remove.
Cleaning Method
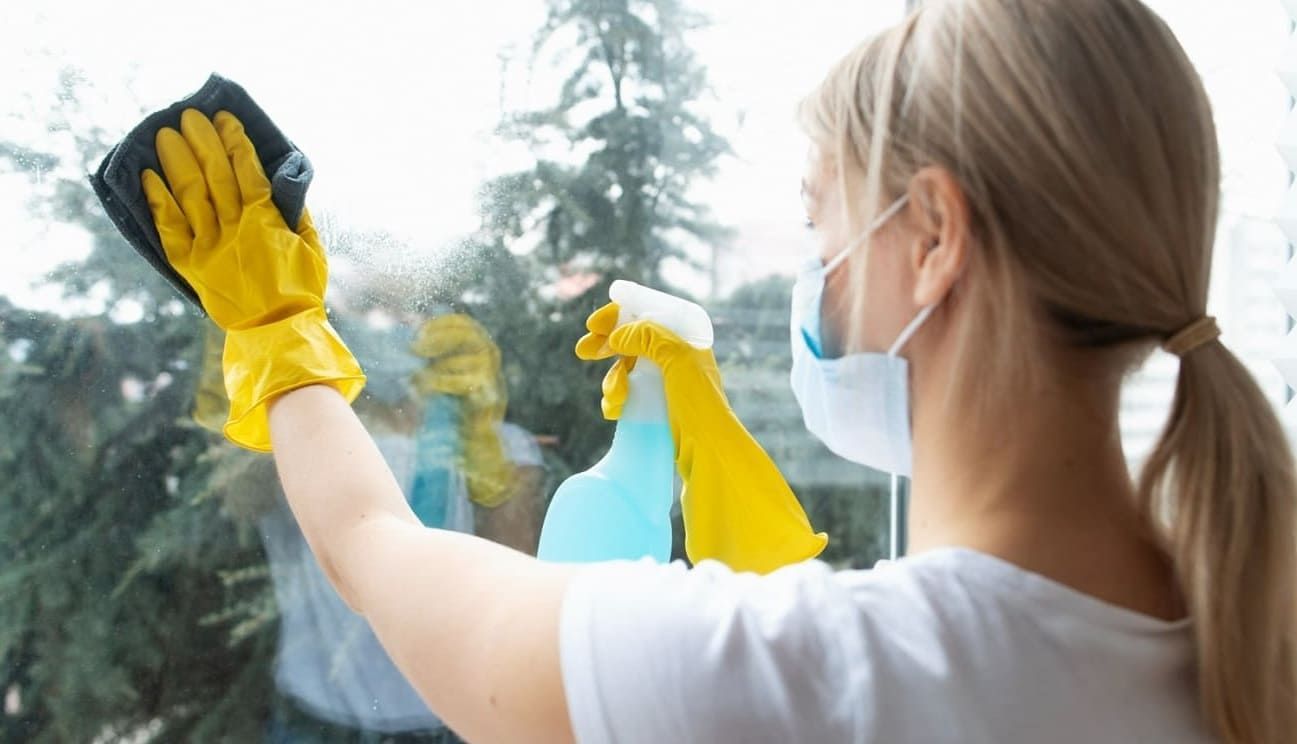
First, add a small amount of water to the window and spray with a cleaning formula. Leave the formula in place for approximately two minutes.
Use a gentle circular motion, as vigorous scrubbing could wear down the surface of the tint. Keep wiping the window until you remove the cleaning formula and most water.
Repeat this process for persistent marks and smudges as often as you need to, but don't increase pressure to remove stubborn spots.
Once satisfied that your windows are clean, they need one last rinse with distilled water.
That will help you remove any remaining cleaning residue so that it doesn't rest on your windows. Always use a fresh, clean microfiber cloth for your final rinse.
Remember to inspect your efforts once the windows are dry. Examine them in daylight hours to check for any water spots. This is also an excellent time to check there is no tint damage.
If there is any damage to the window tint, your first priority is adding a new tint coating as soon as possible.
Reapply the Tint
You can choose to reapply the tint every few years. That will ensure it always looks as good as new. It will also make it easier for you to keep up with the maintenance.
Home Window Tint: Beauty Inside and Out
A minor home renovation like a home window tint can dramatically affect your home interior and exterior.
Plus, it's a great way to get some extra privacy. But make sure you get the most from your investment by following these care and maintenance tips.
For professional installation, repair, and maintenance services for your window tint, head here to get a free estimate from Film Systems of Florida expert team.


